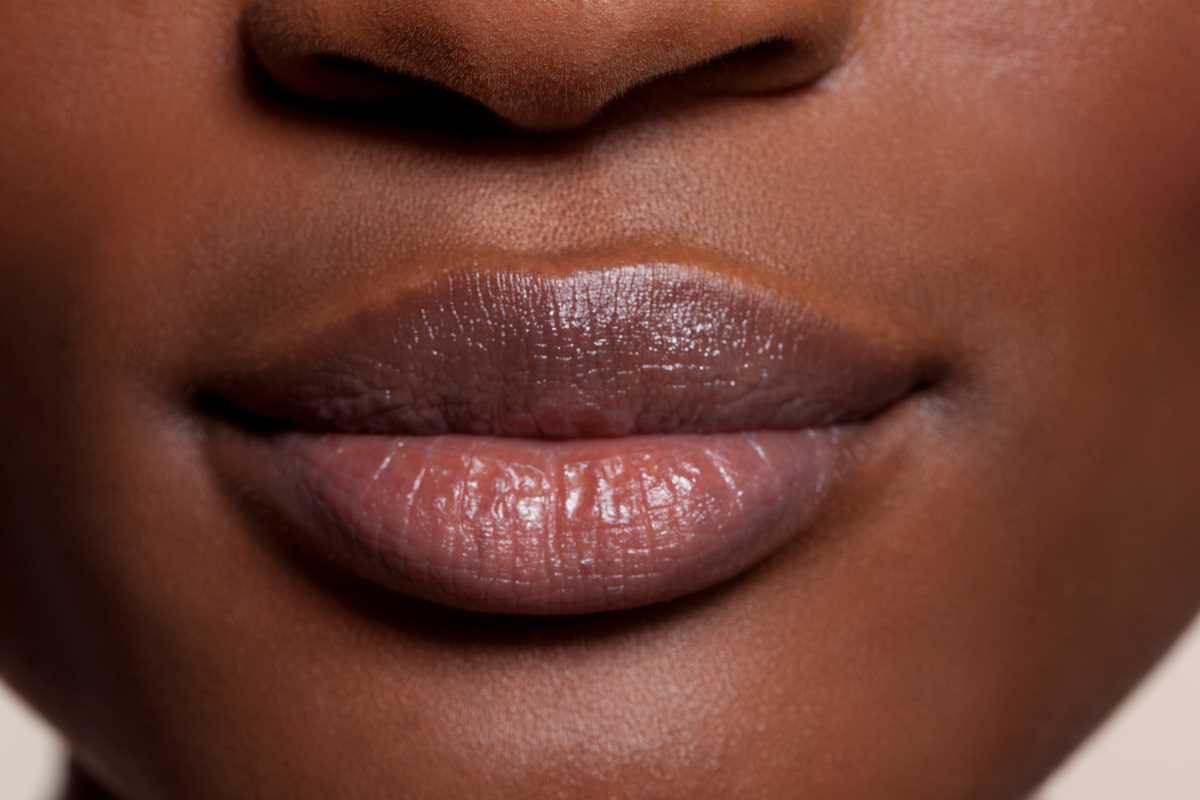
Creating your own lip balm at home is not only a fun and fulfilling project but also allows you to have complete control over the ingredients and customize the product to your personal taste. The process of making homemade lip balm enables you to avoid potentially harmful chemicals often found in commercial products and instead use natural ingredients that are both nourishing and gentle on your skin. Additionally, you can experiment with various scents and flavors to craft a lip balm that perfectly suits your preferences or to create unique gifts for friends and family.
Step One: Gathering Ingredients
To get started, first gather all the necessary ingredients and tools. You'll need beeswax, which acts as a natural thickener and provides a protective barrier for your lips; shea butter or coconut oil, both of which offer moisturizing benefits; and essential oils for adding your desired fragrance. Be sure to have small containers on hand to store your finished lip balm. Opt for high-quality ingredients to ensure the best results and maximum benefits for your lips.
Step Two: Melting the Mix
Begin by melting the beeswax and shea butter or coconut oil together. You can do this using a double boiler or, if you prefer, a microwave-safe bowl. Heat gently, stirring occasionally until the mixture is completely combined and smooth. It's important not to overheat the mixture, as this can negatively affect the final texture of the lip balm.
Step Three: Stir in Essential Oils
After the beeswax and oils are melted and well-blended, remove the bowl from heat and stir in a few drops of your chosen essential oils. Popular choices include peppermint for a refreshing zing, lavender for a calming effect, or citrus for a bright, uplifting aroma. Feel free to experiment with different essential oil combinations to create a personalized scent that you love.
Here are some of the best essential oils to use for different flavors and effects:
1. Peppermint
- Flavor: Cool and refreshing
- Benefits: Provides a tingling sensation and can help soothe dry, chapped lips. Peppermint oil is also known for its invigorating and energizing properties.
2. Lavender
- Flavor: Floral and calming
- Benefits: Known for its relaxing and soothing qualities, lavender essential oil helps promote a sense of calm. It also has gentle antiseptic properties that are beneficial for sensitive skin.
3. Lemon
- Flavor: Bright and citrusy
- Benefits: Offers a zesty and uplifting aroma. Lemon oil is also known for its invigorating properties and can help brighten the mood. It can sometimes be phototoxic, so it's best used in lower concentrations.
4. Orange
- Flavor: Sweet and fruity
- Benefits: Provides a cheerful and uplifting scent. Orange essential oil has mood-enhancing properties and can help reduce feelings of stress and anxiety.
5. Vanilla
- Flavor: Warm and sweet
- Benefits: Vanilla essential oil (or vanilla extract) adds a comforting and rich scent to lip balm. It’s perfect for those who enjoy a sweet, creamy aroma.
6. Eucalyptus
- Flavor: Fresh and invigorating
- Benefits: Offers a cool, minty scent that can help clear the sinuses and provide a refreshing sensation. It also has antiseptic properties that can benefit the skin.
7. Grapefruit
- Flavor: Tangy and citrusy
- Benefits: Provides an energizing and uplifting aroma. Grapefruit oil is known for its detoxifying and mood-lifting properties.
8. Rosemary
- Flavor: Herbal and woody
- Benefits: Offers a stimulating and invigorating scent. Rosemary essential oil can help improve mental clarity and focus.
9. Chamomile
- Flavor: Sweet and soothing
- Benefits: Known for its calming and anti-inflammatory properties, chamomile essential oil can help soothe irritated lips and provide a relaxing effect.
10. Cinnamon
- Flavor: Warm and spicy
- Benefits: Adds a cozy, spicy scent to your lip balm. Cinnamon oil has antimicrobial properties and can also enhance blood circulation, providing a plumping effect.
11. Rose
- Flavor: Floral and romantic
- Benefits: Offers a luxurious and fragrant scent. Rose essential oil is known for its soothing and hydrating properties, making it a great addition to lip balm for dry lips.
Final Step: Pour it Up
Once you’ve added your essential oils, carefully pour the liquid mixture into your prepared containers. Allow the lip balm to cool and solidify at room temperature. This may take a few hours, so be patient and avoid moving the containers during this time. Once the lip balm has hardened, it’s ready to use or gift.
Homemade lip balm is a wonderful way to incorporate natural ingredients into your skincare routine and offers a thoughtful, personalized touch for gifts. Enjoy experimenting with different scents and textures to find the perfect combination for your lip care needs. Crafting your own lip balm not only enhances your skincare routine but also provides a satisfying and eco-friendly DIY experience.
(Image via Adobe)


